Spring Boot tutorial - Part I
More than a year without doing anything with my blog… It’s really time to write something.
In this series, we’ll go through the whole process of creating a small service using Spring Boot, a very nice layer on top of Spring Framework that favors convention over configuration.
What are we building?
A very simple thing! Just a blog service (CRUD). It’ll be a REST service (a very simple one, by the way!).
In this post, we’ll explain how to set the project up.
Setting up the project
I’m using IntelliJ Idea, so I’ll explain how to set the project up with that IDE. If you’re using a different IDE, change things accordingly .
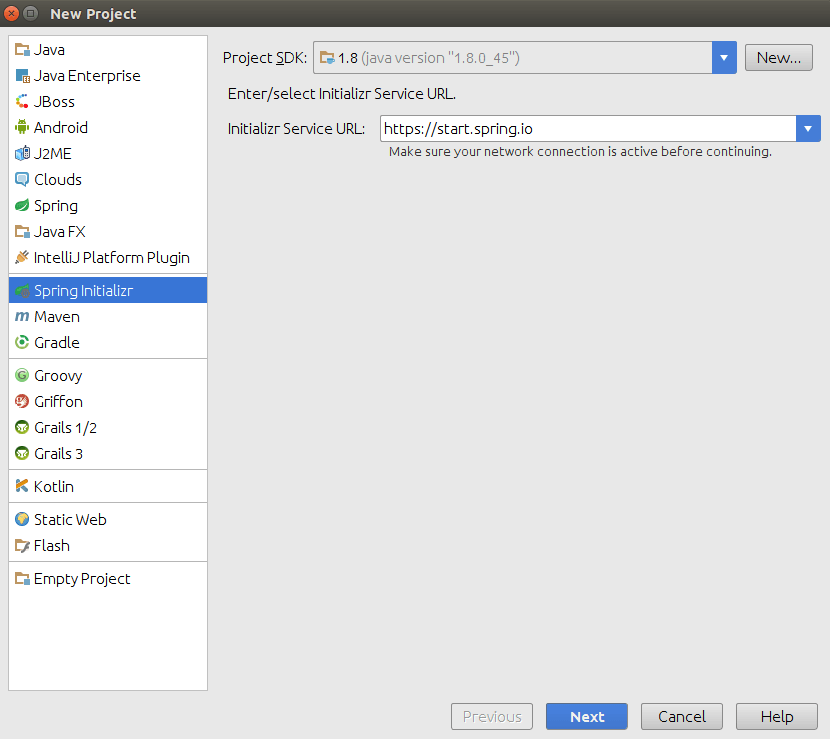
First, click on File > New > Project. A screen will appear, prompting which kind of project you’re interested in.
We’re interested in a Spring Boot application, so we select Spring Initializr.
I’m not sure this option exists for the IntelliJ community edition users. If it doesn’t, you can do exactly the same with the nice web interface the Spring team provides here.
It’s just a nicer way to start a Spring Boot project. You’ll be all setup and ready to code in 5 minutes, I promise!
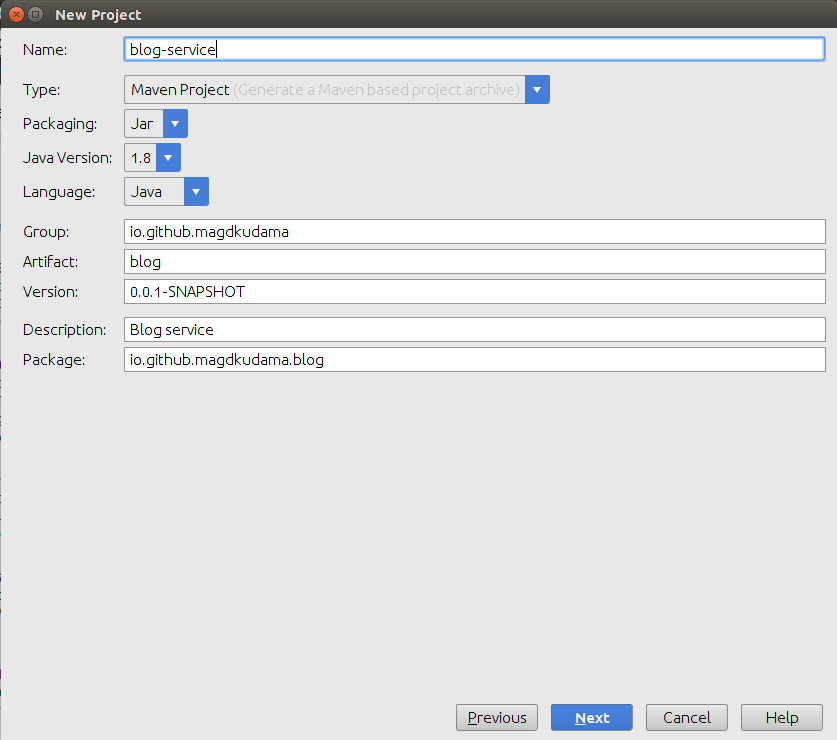
Click next, and add the required information for the project. In my case:
Click next, and it’s time to select the Spring packages you want to use:
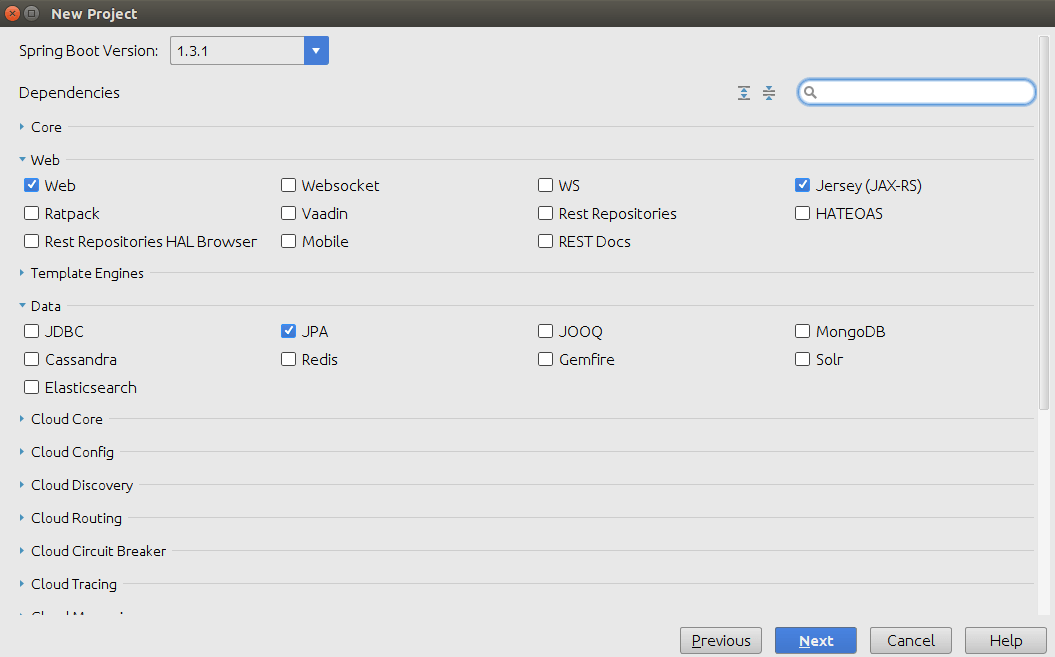
In our case:
- Web
- Jersey (JAX-RS) as we’re using REST as the communication protocol
- JPA, as we’ll use it to access the database
- H2 (as a tests database), MySQL (as the production-ready database)
- Actuator, for monitoring and managing the application when it’s in production
Right, we’re done. Click finish, and we should basically be able to start the service. As easy as that!
Basically, we set the profile to be running, and we run the project! By default, it’ll run on port 8080, so make sure that port is free
Ok, for now we’re done. We’ll continue in the next tutorial.